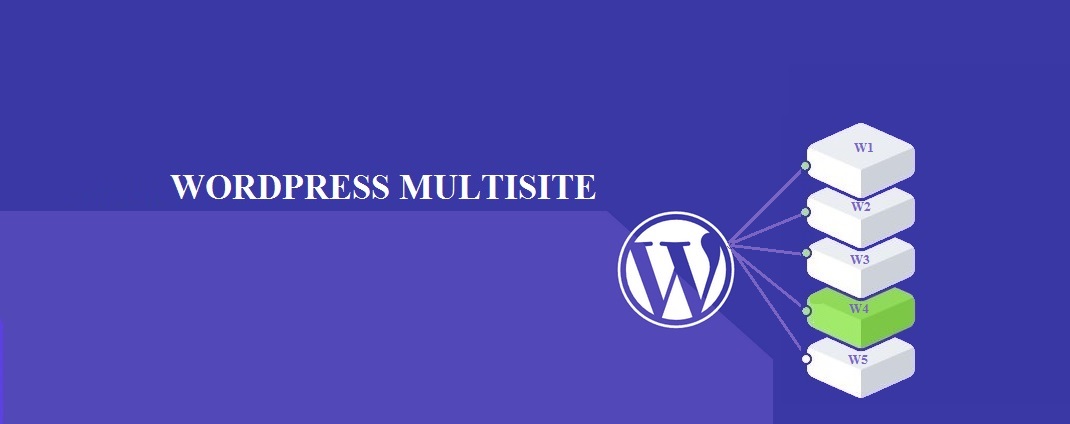
WordPress Multisite is a powerful feature that allows you to manage multiple WordPress sites from a single installation. In this guide, we’ll walk you through the steps to configure WordPress Multisite on a server using NGINX and PHP-FPM, ensuring optimal performance. This configuration is particularly beneficial for users hosting their WordPress sites on EuroVPS servers.
Two Key Benefits of WordPress Multisite:
-
Centralized Management: WordPress Multisite allows you to run and manage multiple websites from a single WordPress dashboard. This centralized approach simplifies tasks like updating themes and plugins, moderating comments, and managing users across all your sites, saving considerable time and effort.
-
Resource Efficiency: With Multisite, all your websites share the same WordPress core files, themes, and plugins. This unified structure reduces the amount of disk space and resources used compared to hosting separate WordPress installations for each site. It makes it more efficient in terms of both server resources and ease of maintenance.
Prerequisites:
Before starting the configuration, make sure you have the following:
- A EuroVPS server with NGINX and PHP-FPM installed.
- A valid domain name pointing to your server’s IP address.
Step 1: Install WordPress:
Begin by installing WordPress on your server. You can use the following commands as a reference:
# Navigate to your web root directory (e.g., /var/www/yourdomain.com)
cd /var/www/yourdomain.com #
Download and extract the latest WordPress version
wget https://wordpress.org/latest.tar.gz
tar -xzvf latest.tar.gz
mv wordpress/* .
rm -rf wordpress latest.tar.gz
Step 2: Configure NGINX:
Create a new NGINX server block configuration for your domain. Open the NGINX configuration file using a text editor:
sudo vi /etc/nginx/sites-available/yourdomain.com.conf
Replace yourdomain.com with your actual domain and add the following configuration:
server {
listen 80;
server_name yourdomain.com www.yourdomain.com;
root /var/www/yourdomain.com;
index index.php;
location / {
try_files $uri $uri/ /index.php?$args;
}
location ~ \.php$ {
include snippets/fastcgi-php.conf;
fastcgi_pass unix:/var/run/php/php-fpm.sock;
fastcgi_param SCRIPT_FILENAME $document_root$fastcgi_script_name;
include fastcgi_params;
}
location ~ /\.ht {
deny all;
}
}
Save the changes and create a symbolic link to enable the site:
ln -s /etc/nginx/sites-available/yourdomain.com.conf /etc/nginx/sites-enabled/yourdomain.com.conf
systemctl restart nginx
Step 3: WordPress Configuration:
Now, configure your WordPress installation to enable Multisite. Open your wp-config.php file:
vi /var/www/yourdomain.com/wp-config.php
Add the following lines just before the line that says /* That’s all, stop editing! Happy blogging. */:
define(‘WP_ALLOW_MULTISITE’, true);
define(‘MULTISITE’, true);
define(‘SUBDOMAIN_INSTALL’, false);
define(‘DOMAIN_CURRENT_SITE’, ‘yourdomain.com’);
define(‘PATH_CURRENT_SITE’, ‘/’);
define(‘SITE_ID_CURRENT_SITE’, 1);
define(‘BLOG_ID_CURRENT_SITE’, 1);
Save the changes.
Step 4: Multisite Setup:
Log in to your WordPress admin dashboard and navigate to “Tools” -> “Network Setup.” Follow the on-screen instructions to set up your Multisite network.
Step 5: Update NGINX Configuration:
After setting up Multisite, update your NGINX configuration to include the additional directives for handling Multisite:
server {
listen 80;
server_name yourdomain.com www.yourdomain.com;
root /var/www/yourdomain.com;
index index.php;
location / {
try_files $uri $uri/ /index.php?$args;
}
location ~ \.php$ {
include snippets/fastcgi-php.conf;
fastcgi_pass unix:/var/run/php/php-fpm.sock;
fastcgi_param SCRIPT_FILENAME $document_root$fastcgi_script_name;
include fastcgi_params;
}
location ~ /\.ht {
deny all;
}
# Multisite configuration
location ~ ^/files/(.*)$ {
try_files /wp-content/blogs.dir/$blogid/$uri /wp-includes/ms-files.php?file=$1 ;
access_log off; log_not_found off; expires max;
}
}
Restart NGINX for the changes to take effect:
systemctl restart nginx
Conclusion:
Congratulations! You have successfully configured WordPress Multisite with NGINX and PHP-FPM on your EuroVPS server.
To conduct a performance audit or implement additional tweaks on NGINX / PHP-FPM / CACHE configuration, please feel free to reach out to our technical support team.
Note: Make sure to replace ‘yourdomain.com’ with your actual domain throughout the configuration steps.
For further insights, you can also consult the following blog post: How to Set Up WordPress Multisite.
EuroVPS offers reliable and high-performance hosting solutions tailored to the needs of businesses and individuals. With top-notch infrastructure and expert support, EuroVPS is a trusted partner for hosting WordPress sites.
You have the option to acquire any of our VPS hosting or cloud hosting plans for setting up WordPress multisites. Opting for a managed hosting plan ensures that our engineers will take care of the installation and configuration on your behalf.
Web hosting today is more than just storing and serving websites. It’s about providing a secure, resilient, and scalable environment that aligns with business objectives, whether it be global reach, e-commerce, or customer engagement.